Wednesday, March 28, 2012

Thailand Floating Market

Today we went out on a little boat to shop at the market. It is known here in Thailand as a floating market. We boarded our little boat and were rowed down the river by our driver. Amazingly, most of the boat operators are female and they are often older. It is so hard to guess any one's age here because a 25 year old often looks about 16. There is such a young innocence to the Thai culture.

 The market has an array of sundries such as clothes, toys, artisan work, and food. Your driver paddles you up and down the river and then the shop owners pull you to their booths with long poles with hooks fashioned on the end.
 The price of goods is always negotiable. Tourists are charged at least double the price. My sister and her husband have been here long enough to know the tricks and to barter the prices down. My son is trying a cookie like chip with coconut cream on top. I wish I could replicate this amazing dessert at home. Yum!
 I tried a coconut early on in our excursion for the low cost of $1. What a treat!
 The shops not only line the river, but they are in boats themselves. Women have large woks and pans on their boats where they cook you breakfast, lunch, or dinner. I have found a typical Thai meal to cost between $1 to $3. The food is very cheap in comparison to U.S. standards. The cost to get to Asia is expensive, but once we got here, we could easily live like kings.
 Here is My son enjoying the relaxing boat ride. Who wouldn't like a boat ride where you can buy the freshest bananas, mango, and coconuts along the way?
 This is an example of a typical shop. Many of the vendors have the same products to offer.
 Shops are covered by tin roofs and they often don't look sturdy in nature. If you can throw up a roof, you can open a store anywhere in Thailand.
My son found his treasure at this shop. He chose a coconut turtle with intricate carvings. The best part is it lights up. He is going to love having it in his room. We paid $9 for our lamp which my sister said was a rip off. However, anyone that has the talent to construct one of these coconut lamps, easily deserves that much in my opinion. I just thought I was crafty until I saw some of the local handiwork here in Thailand!

Tuesday, March 27, 2012

Thailand Adventure

Hello from Thailand. I am so excited to share our adventure with you. My sister and her husband are currently living in Thailand teaching English at a college. My four year old and I surprised her and showed up here on Friday from Texas. Her husband, Ted, helped me coordinate the whole trip. Boy was she surprised!! She knew someone was coming to visit, but we were the last people she would have ever suspected. I mean seriously...who is silly enough to bring a four year old half way across the world....me! We had over 24 hours in travel so I will share some of my fun new travel games I created once I get home. Our adventure today was at an elephant sanctuary.

 This is my son and I sitting on one of these huge creatures. They were amazingly docile and friendly. They are also known for their intelligence.

 According to the National Geographic Traveler, Elephants and Thailand are inextricably linked. The animals symbols of power and fertility, as well as their ability to train, makes them a critical part of Thai culture. Their natural habitat is shrinking, and logging was banned in 1989, leaving many animals unemployed and subject to abuse.
 Therefore, there are several elephant sanctuaries across Thailand where elephants are free to wander and play. Here is a local climbing aboard one of the elephants.
 This is what I like to call the "elephant docking station." We were able to climb in a seat and take a 30 minute ride around the preserve. These gentle giants were such a treat. There skin is very much like leather and they are surprisingly hairy.
 The elephants responded well to commands, and this big fella lay down to hang out with us. We paid $10 for an adult and $5 for a child to ride. Best $15 outing I have ever had. Riding an elephant puts riding a horse to shame. Lol!
My son had the best time just talking to them and feeding them. It is a good thing we can't bring an elephant home to our "farm" because he just might try. Stay tuned for more exciting adventures!

Sunday, March 18, 2012

DIY Taggie Sensory Toy for Baby

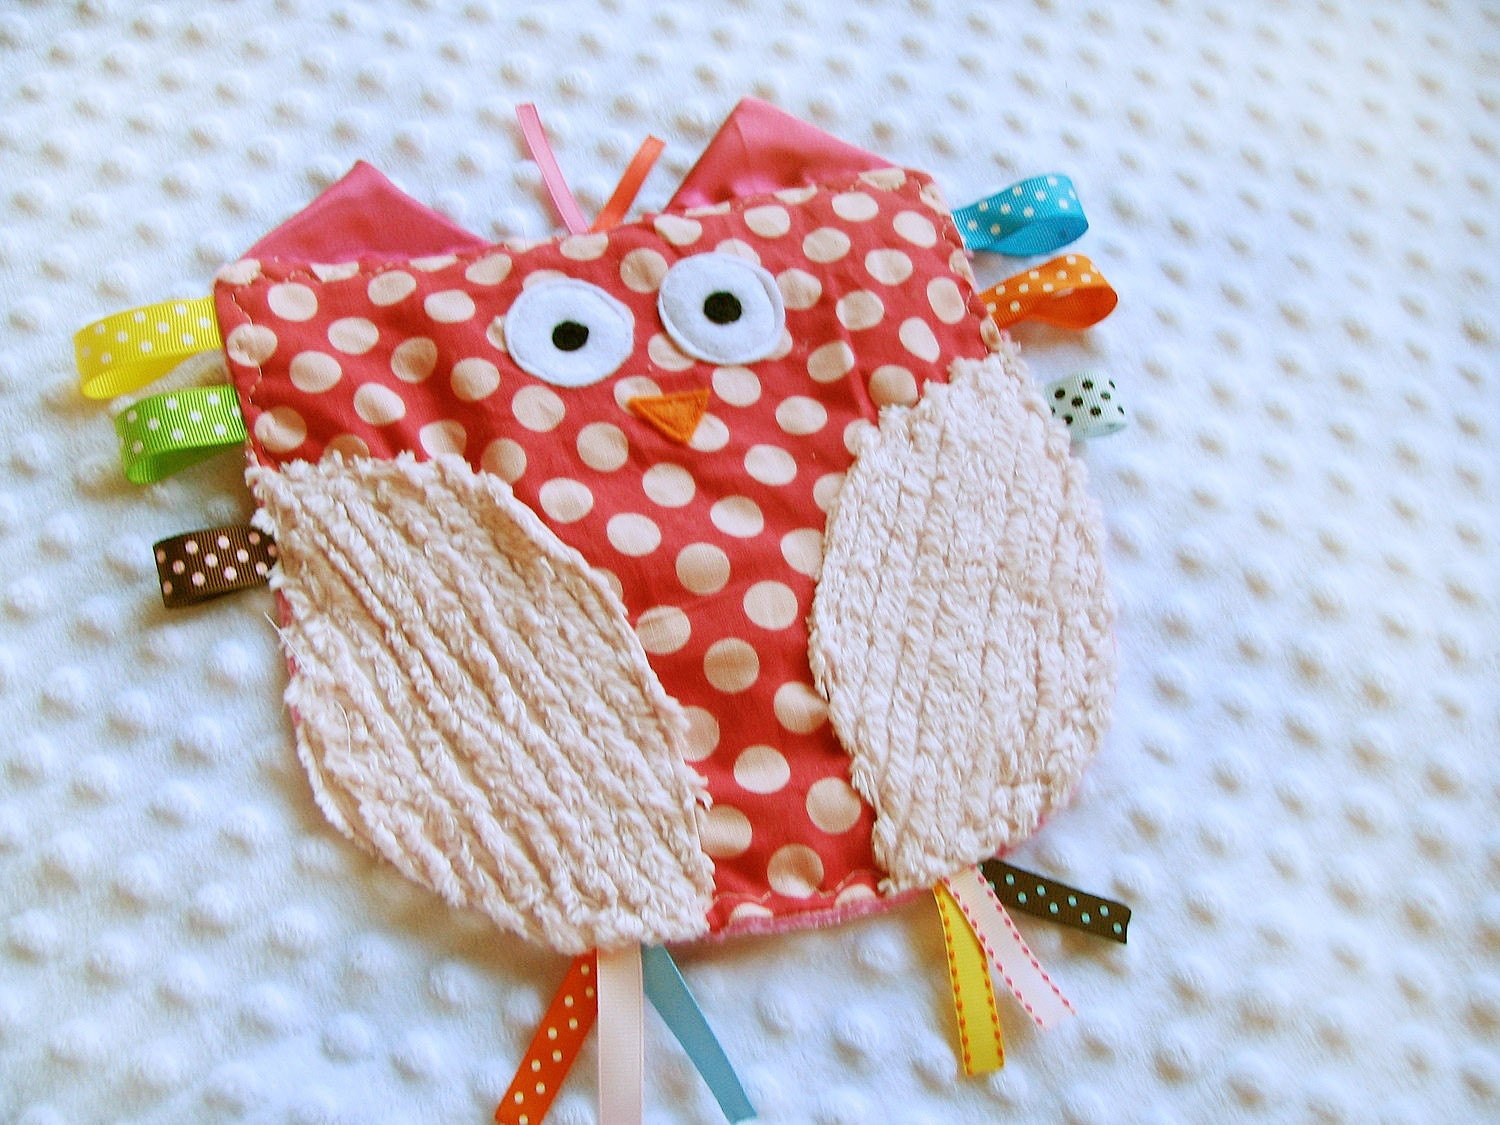
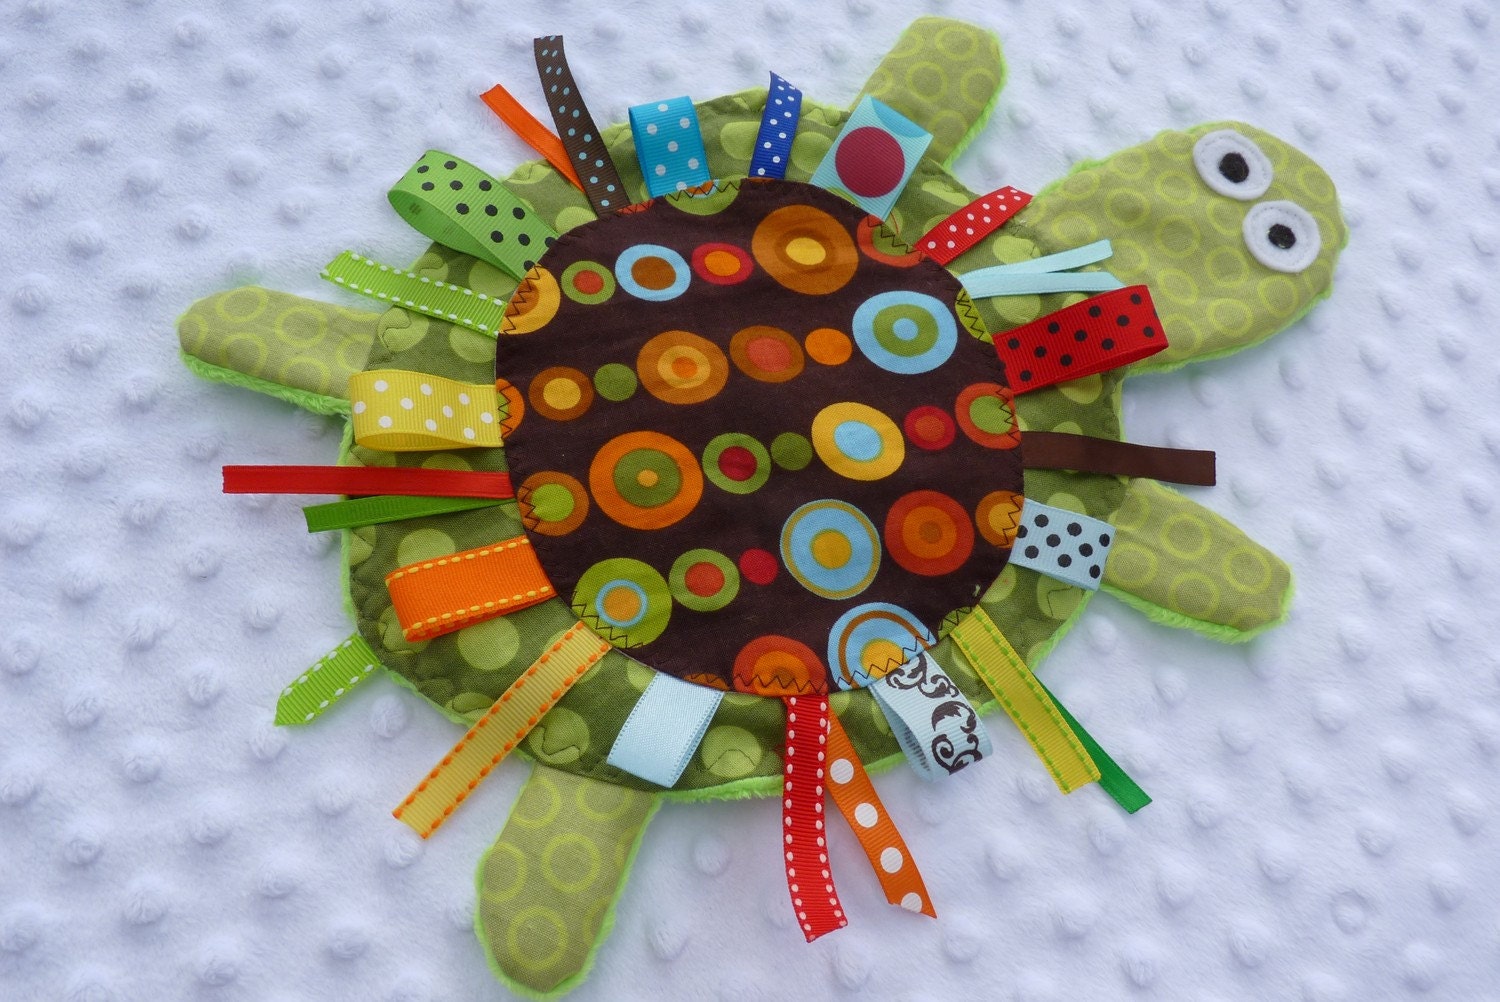
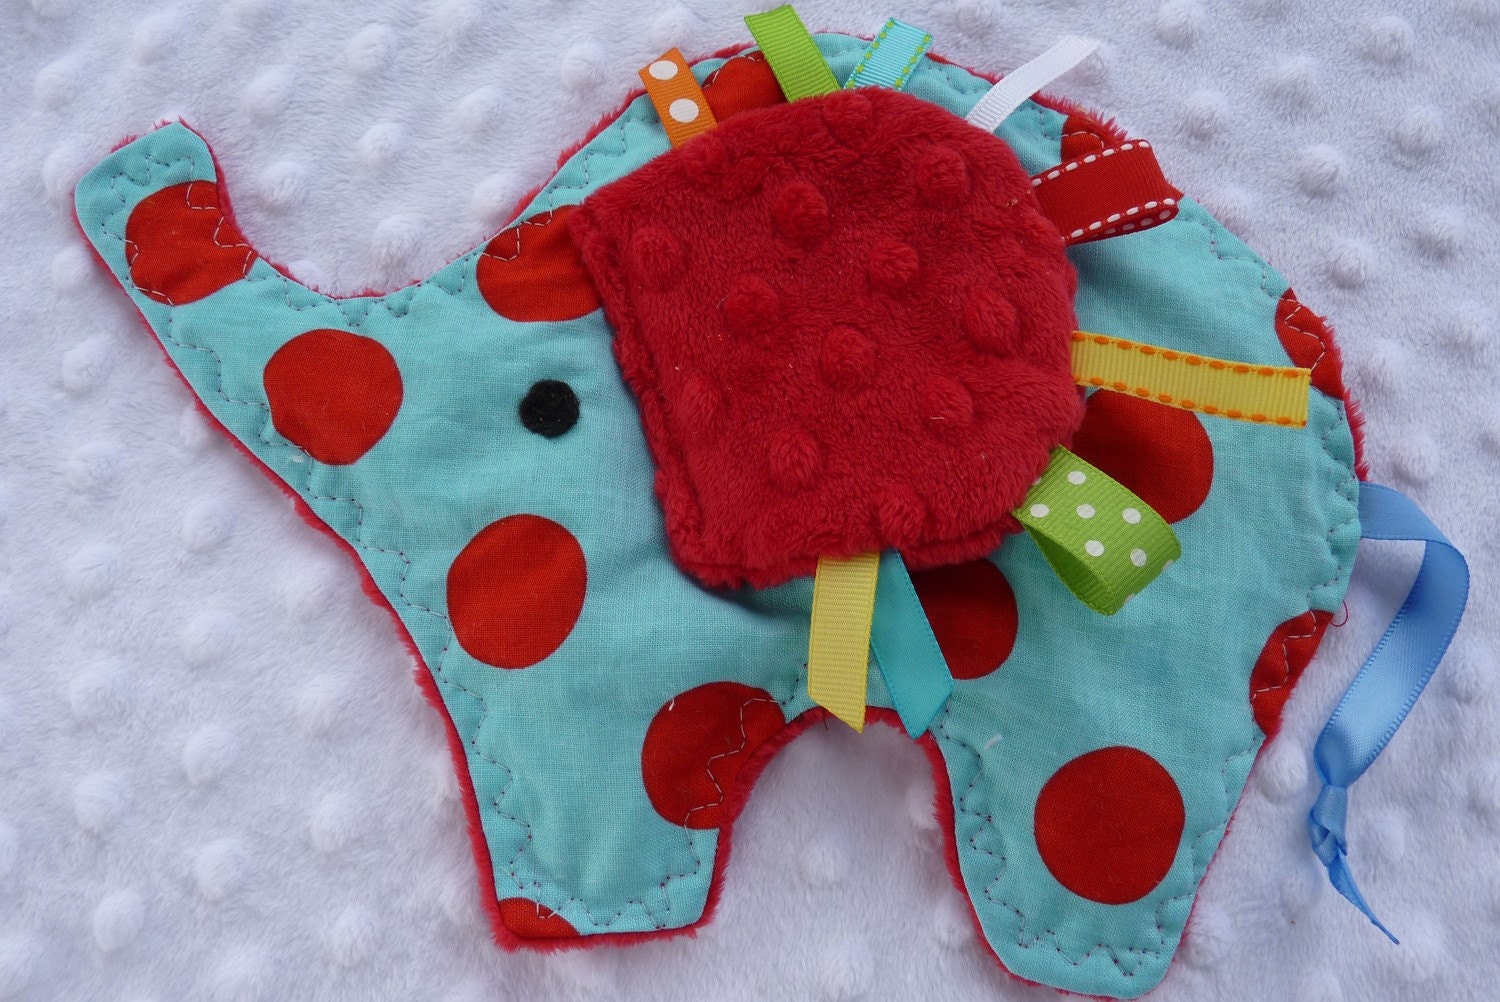
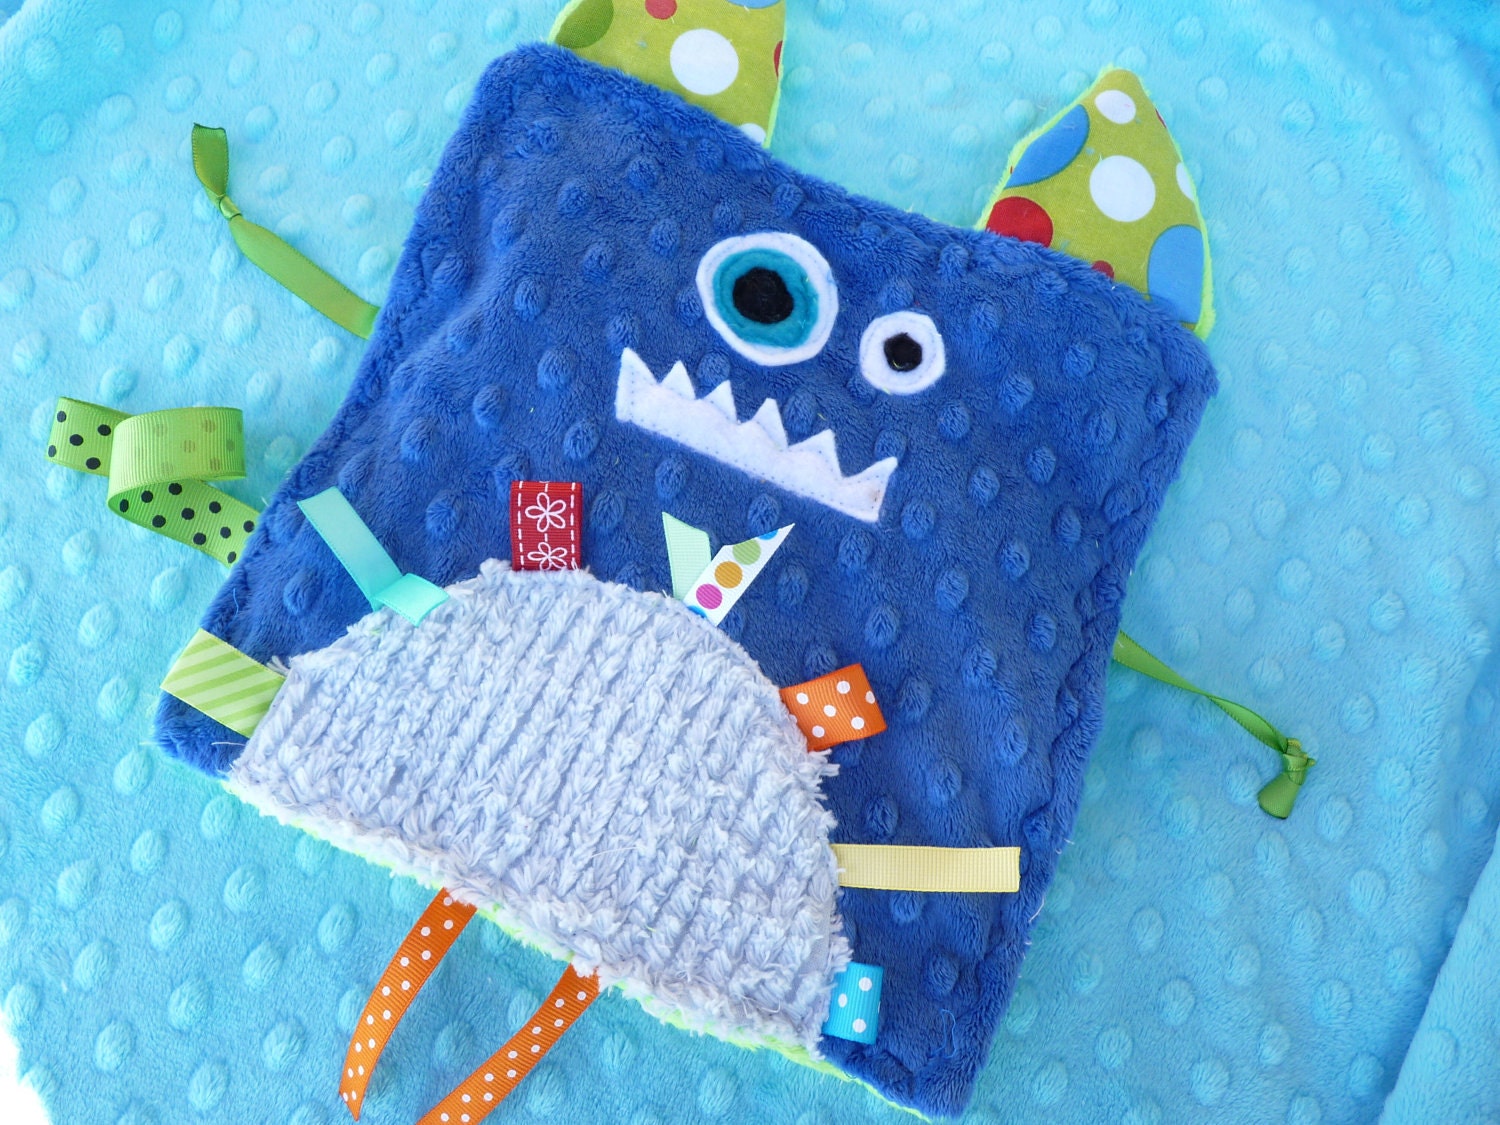
In case you have not been in the baby world for a few years, I would like to introduce you to Taggies. Some genious realized little one's love to grab the tags on stuffed animals or toys and play with them. It is generally a babies favorite part. Hence, the Taggies brand was likely born. It is very simple to make your own Taggies. I wanted to share this simple tutorial for the crinkle version of this baby sensory toy. What do I mean by crinkle? I enclosed a layer inside that crinkles when  a baby handles it and plays with the tags.

Olivia the Owl Crinkle Crackle with ribbons

I found these cute designs on etsy here. I am sure this link will not be good forever though.

Yertle the Turtle- GREEN or PINK -Crinkle Crackle Sensory toy- Please read note before buying  Peanut or Penny the Circus Elephant- Crinkle Crackle ribbon blanket Monty the Monster- Crinkle Crackle- Ribbon blanket with pacifier clip holder

We will start today by making the super simple square version and then you can vary it from there.

Supplies:
Two 6" squares of material
Crinkle material (explanation to follow)
Various ribbons of different colors and sizes
Sewing machine

Directions:
1. Cut two 6" squares of fabric. (6" is my size of choice) I used a soft blue bumpy fabric and a dinosaur print.

2. Place printed fabric right side up. Pin ribbons of different colors and sizes on as shown below. Be creative in your color choices.


3. Place right sides of 6" fabric squares together. Cut 6" square of crinkle material to place on top as shown. I chose to use a square cut from the bag baby wipe refills come inside. It has the best crinkle sound to me. Choose anything you desire to use in the middle that crinkles.

4. Pin the three layers together and sew with 1/4" seam allowance, leaving opening to turn project inside out. Next, I place my fingers in the opening to carefully remove all the pins that were holding my ribbon pieces in place. Turn inside out.

5. Once your project is turned inside out, sew 1/4" seam around the squares as shown below.


6. Share it with a baby you love and watch their face light up as they chew and crinkle their new toy. This is the first sensory toy I used with my little one.

Here is another variation of the taggie toy idea that I liked. I thought it would be the perfect gift to enlist a older sibling to help make for a new baby on the way. I saw this clever idea at HavingFunAtHome.


She had her kids use fabric markers to draw on the new gift for baby. Precious!

Disclaimer: The inside crinkle material is a choking hazard if this toy were to ever come apart. I have never had any issues personally and I love that it is machine washable.

Friday, March 16, 2012

Leprechaun Cookies

Don't forget tomorrow is St. Patrick's Day. Our little McMischief the visiting leprechaun goes back to his home. We made some special cookies to leave out for him tonight. Does anyone else have leftover Girl Scout cookies? I love them but I am a little burned out. The cookies were the perfect solution for a parting gift for McMischief.


We melted some green chocolate in the microwave, dipped the cookies in it, and used gold sprinkles on top. Yummy! I am convinced McMischief is going to enjoy those cookies tonight.

Tuesday, March 13, 2012

McMischief the Visiting Leprechaun

It is that crazy time of the year when our little McMischief appears during the night as our visiting Leprechaun. Last year was his first year to visit when my son was 3. Two days ago he reappeared for this year. He left a trail of gold coins from his room to the dining table. He took a green finger painted plate my son had done at school and filled it with Lucky Charm bars, gold coins, and gold beads. My oldest son woke up and I could hear him yelling from downstairs. Mom! Mom! You are never going to believe this!


The second day, McMischief left a treasure hunt. I found this clever treasure hunt printable at Oopsey Daisey here.


An upcoming night of mischief might include this adorable free printable candygram from Every Creative Endeavor.

St. Patrick's Day Candy Gram Printable (8)

I also found these clever St. Patrick's Day Conversation cards at Happy Home Fairy. McMischief may drop these off one night for a fun dinner activity.


Tomorrow McMischief plans to set the breakfast table with everything upside down including the chairs. The cereal bowls, cups, napkins, and chairs are upside down for a crazy start to our morning. I asked my son if he wanted to build a trap to catch McMischief. He thought about it for a while, and then came back to me and informed me that was not in the plan because then the Leprechaun would stop visiting and leaving gifts.

Some other great Leprechaun adventure ideas:

Draw on framed glass photographs with green dry erase markers
Dye your milk green and leave a coin trail to the fridge
Make a leprechaun trap
Leave a St. Patrick's Day book
Dye your toilet water green
Leave a piece of torn green fabric caught in a door or window (Leprechaun escaping)
Make tiny green Leprechaun footprints
Leave green treats in your child's shoes (Leprechauns love shoes)
Make an edible Lucky Charm necklace or bracelet


Here is a funny excerpt from McMischief last year...It was a definite case of Leprechaun mischief gone bad.

March 9th, 2011
Some may say my poor three year old is deprived when I tell you that he has never had any cereal besides Cheerios and Raisin Bran. Therefore, when he woke up this morning and discovered our little mischievous Leprechaun had left a golden coin path to some Lucky Charms cereal he did not know what it was. Lol!
After he found out Lucky Charms had mini marshmallows in it he was very excited. We served them up with some green milk from yesterday. Unfortunately, it was a complete mishap of timing. Little did I know my son had a stomach virus until...GREEN MILK WAS GOING EVERYWHERE! Talk about your all time backfire! White milk is bad enough to clean up but green milk is even worse

Monday, March 12, 2012

Free Subway Art Printables

I don't know about you, but I love subway art printables. I finally learned how to use Picnik to create Subway art and they are closing on April 19th. Here is a great tutorial from The Mother Huddle if you wish to beat the deadline. I made these fun printables for St. Patrick's Day and Easter just in the knick of time.
Click here for the St. Patrick's Day printable. I designed it in 5x7 format but I was able to print it in an 8x10 format.


And for the Easter one...


I made this fun Easter Subway Art Printable available here. It is also designed to print in 5x7 format.
I like to print them out on photo paper at CVS or Walgreens, but you may also just print them on regular paper or cardstock to frame. Subway Art is such a fast way to add some holiday spirit and decor to your home.

Please let me know if you have any problems. This is the first time I have linked to a photo format printable!

Sunday, March 11, 2012

Veggie Cheese Enchiladas

I have been so sick this week. Has anyone else caught the crud going around. I have literally stayed in bed for two days straight and my amazing husband has been watching the boys. Such a blessing! I don't have a drop of energy left. My oldest did crack me up at dinner the other night when I was at my worst. He had some ice cream for dessert and had his first brain freeze. He had the deer in the headlights look and said, "It feels like the Arctic inside of me!" My husband and I laughed so hard at his clever description.

This is what I have been craving for dinner this week...Veggie Cheese Enchiladas. I ate some delicious Vegetable Enchiladas at a Mexican restaurant years ago and decided I needed to come up with a recipe of my own. They were so good I did not mind they did not have meat inside. I like that it is quick dinner to prep and it is fairly healthy.


Ingredients:
Corn tortillas (8-10) or flour
Shredded cheese
1 can red enchilada sauce
Zucchini (1)
Red pepper (1)
Bell pepper (1)
Yellow Squash (1)
Pam spray
Seasoning

Directions: 

1. Preheat oven to 350 degrees. Cut up vegetables into small pieces. (See picture above) Grill, pan cook, or microwave vegetables until somewhat tender. Season as desired.

2. Spray bottom of glass casserole dish with Pam butter spray. Fill each corn tortilla with shredded cheese and roll up in enchilada fashion.

3. Line up cheese filled corn tortillas in pan. Pour red enchilada sauce on top of the tortillas, covering generously.

4. Spread vegetables over the top of the cheese filled tortillas. Cook at 350 degrees for 35-45 minutes until heated through. Place some more shredded cheese on top for a few minutes until melted.

5. Enjoy!


Friday, March 9, 2012

Miracle-Gro® Expand 'n Gro™ Giveaway

This is a Sponsored post written by me on behalf of Scotts® for SocialSpark. All opinions are 100% mine.
May I have a drumroll please. Check out this amazing new product from Miracle-Gro®. It can help turn a normal thumb into a green thumb. I used to be the queen of ruining plants prior to the use of Miracle-Gro®. I never realized how much of a difference their concentrated planting mix can make on native soil until I tried it myself 8 years ago. Miracle-Gro® is like Red Bull for plants.
I can't wait to try out the newest product from Miracle-Gro®. The concentrated planting mix is designed to expand up to 3X its size with the addition of water and it feeds your plants and vegetables for six months. ( I only have to use it twice a year! Just my style!)
Where do I buy this amazing stuff?
EnG Product Shot.png
  It is available at Amazon.com and at local home and garden retailers in the Midwest, Northeast, and Texas.
What is the secret ingredient?
It is an amazing blend of Miracle Gro and coir (coconut fiber). Coirs unique moisture holding abilities help Expand 'n Gro™ retain more moisture than basic potting and garden soils and then releases water as plants need it to help prevent over or under watering.
Advertisement
Why don't I have this miracle working soil?
I don't know. Go out and buy some! It is time to prep your flowers and garden for the Spring and Summer season. You may also enter the Giveaway for a free sample size. Just leave me a comment on why you like Expand ‘n Gro™ or how you would use it.
Visit Sponsor's Site

Glade's New Products

This is a Sponsored post written by me on behalf of Triad Retail Media for SocialSpark. All opinions are 100% mine.

Has anyone tried the amazing new products from Glade? I have tried both the new Glade® Expressions™ fragrance mist and the new Glade® Expressions™ oil diffuser and I love them both. I have talked about an amazing site before called Houseparty.com. It offers free parties . Yes, I truly mean no strings attached free parties. I was sent a party pack with the new Glade® Expressions™ fragrance mist and the new Glade® Expressions™ oil diffuser, as well as coupons, magnets, and notepads for all of my guests. To see more information about houseparty.com and see my first party click here.


Walmart.com - Glade Expressions Air Fresheners
Once I was selected for the party, I sent email invites to all my friends and the fun began. We tried new scents, new packaging, and new products. My favorite fragrance was the Pineapple and Mangosteen. We all agreed the oil diffuser design was perfect to blend in with a variety of home decor. It's sleek design and neutral colors made it the perfect compliment to any room. I have one in my bathroom that has been activated for over 30 days and is still fragrant and fresh.

The fragrance mist is also a lifesaver in my house with my three stinky boys. It is a miracle worker. It has a unique spray feature that makes it easy and convenient to use and best of all it is refillable.
Glade is so confident in regards to their products that they offer a fragrance satisfaction guarantee. The form can be accessed here. Glade also offers a coupon for $1.50 off any Glade purchase at Walmart.


Visit Sponsor's Site

Wednesday, March 7, 2012

Swashbucklin Fun Pirate Birthday Party

The day finally came for our boys highly anticipated pirate birthday party. I thought my 4 year old was going to explode the day of the party waiting for 3 pm to come. He was bouncing up and down through the house singing a little jig he made up about pirates and his birthday. It cracked me up! My mom came over to help with the boys so I could get everything set up for the big event. I am so happy I combined the boys parties and only had to pull off one. We had over 50 friends and family show up.


These are the invitations we sent out. Look here for directions on how to make them.


I always hit the dollar store during Halloween in order to plan for upcoming birthday parties. This year I bought pirate hats, swords, eye patches and hooks. We had a bowl filled with pirate gear for the little ones. The sign read, Arrrgh Matey! Grab an eye patch, sword, or hook.


Finding red and white ribbon and fabric was the largest challenge. I checked three stores with little success. I  finally found enough ribbon to wrap around some water bottles. I adhered it with hot glue and a jolly roger flag circle. I am a huge fan of using cheap solid colored plates and spending a little money on some themed napkins. Otherwise, the cost of paper goods can become atrocious quickly with 50 guests. The sign on the water read...Sea Water (Drink if ye dare).


We also had Cannonballs which consisted of grapes on small swords and whoppers.


Popcorn always serves as a fun snack, and the bags are always a breath of fresh color. I found a cute metal lunchbox at Kirklands of all places, and filled it with large pretzel sticks. The sign on the pretzels read...Pirate Planks (Walk the plank skallywagon)


Next, I cut up some fruit and placed them on skewers topped with more Jolly Roger circle flags. I stuffed some Styrofoam in the bottom of a treasure chest box (Oriental Trading) and used some gold/yellow shredded paper around them. The sign read...Pirate Jewels (Sweet Treasure).


Another simple addition was the catch of the day, which included cheese fish.


And of course, what is a pirate party without some Pirate Gold (Claim Ye Riches).


I also made these gold Hershey kisses with treasure maps on the bottom. Free printable here. They were scattered all over the tables and counters.


Here are the pirate cupcakes I showed earlier this week. Click here for directions on how to make the pirate cupcakes. They really were pretty easy.


I was ambitious last minute, and decided to make this fun cake I saw on Family Fun's website. They have great easy to follow directions on their site. I just made some personalized sails to include the boys names and age. Our playmobil pirate served as the perfect captain.


This is my youngest devouring his cupcake.


The day was so beautiful, that we decided to put two antique trunks outside for presents. I really wanted to put on the invitation not to bring presents because my boys have plenty...and mom can't seem to find any more places for toys! Luckily, my boys play with them all.


I labeled the trunks with simple pirate name tags.


I saw a fun idea on Tom Kat Studio and used it to make my version of a Walk the Plank board. I used black electrical tape to write the words on and it lasted through the whole party. (So much faster then painting)  Here is my youngest braving the plank with a lot of concentration. Lol!


We did one large treasure hunt with all of the kids. It was very similar to the one we planned earlier this month to celebrate my oldest son's actual birthday. Look here to see all the details of our treasure hunt and borrow any clues that might help. The kids had to slide down into shark infested water to retrieve one of the clues.


The last clue led them to a stump with X marks the spot and they all began frantically digging with their swords. Not what I expected...but worth the whole party. I am sure their parents were happy to see them digging in all of that dirt!


They unearthed a large box with pirate treasures for everyone. The pirate treasures were little pirate bags I found at Hobby Lobby. They were each filled with a pirate ring, gold beads, and chocolate gold coins.


 This is the cardboard pirate ship that served as part of our decor and treasure hunt. I hung a pirate banner and some wooden signs I painted with Beware and Ahoy. Find more detailed instructions on how to make this cardboard pirate ship here.


Last, but not least, we had a pirate ship pinata. This is my oldest swinging at the pinata with all of his might.


By the end of the party we were all shipwrecked...even the cake. I am convinced all of those kids slept well that night. They were worn out from their adventures on the high seas.


I love to share! Let me know if you need any additional templates.


Related Posts Plugin for WordPress, Blogger...